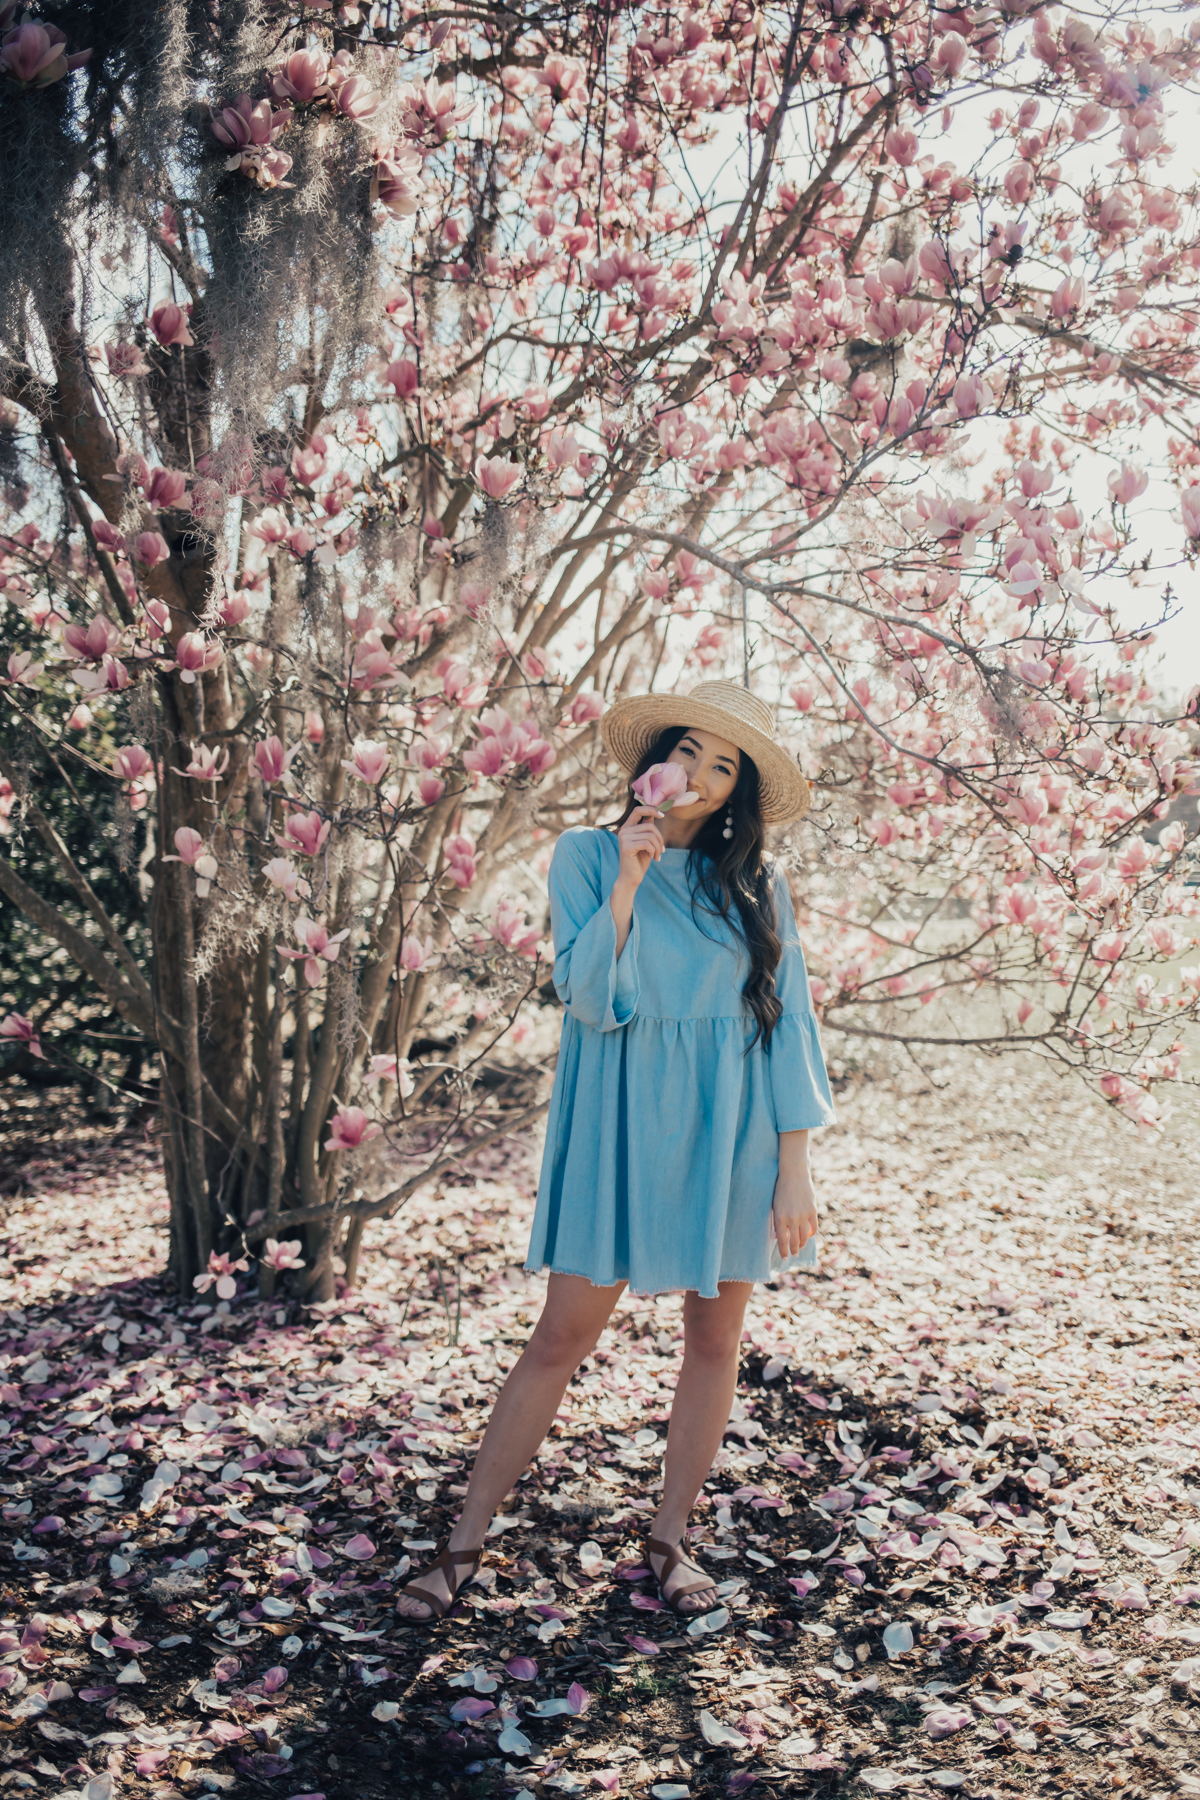
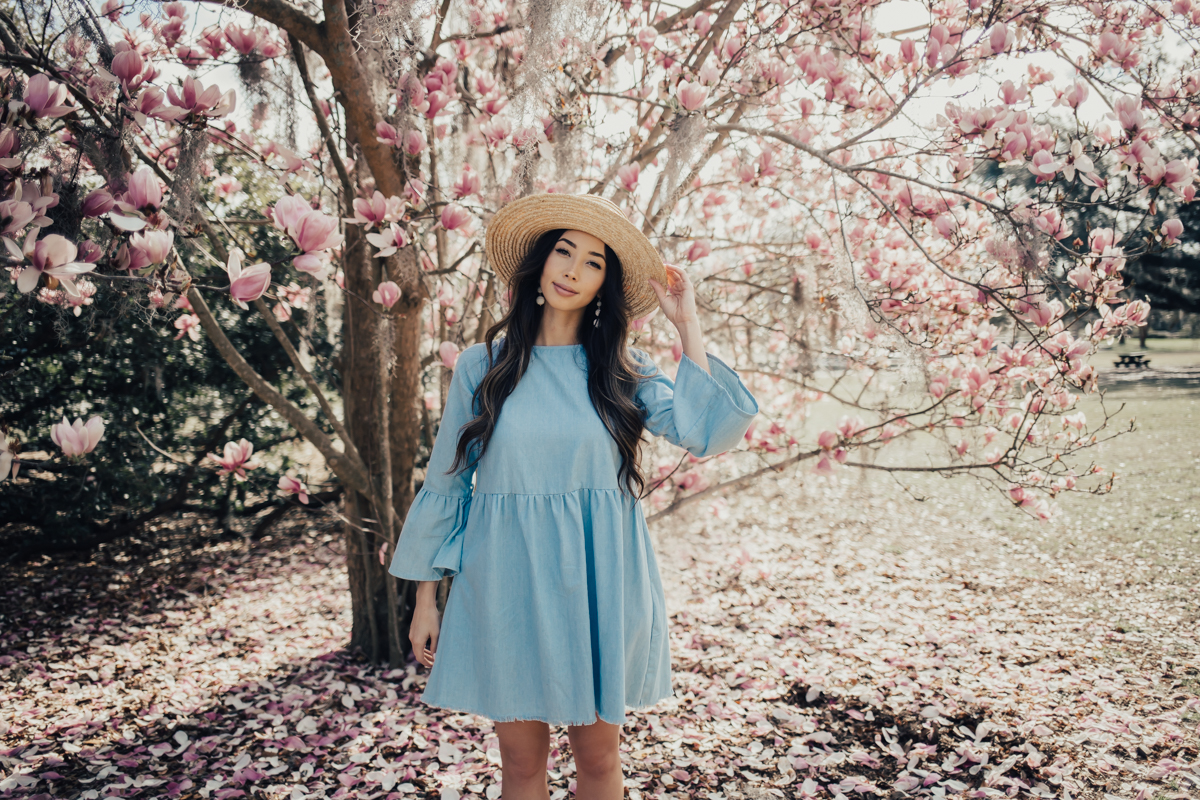
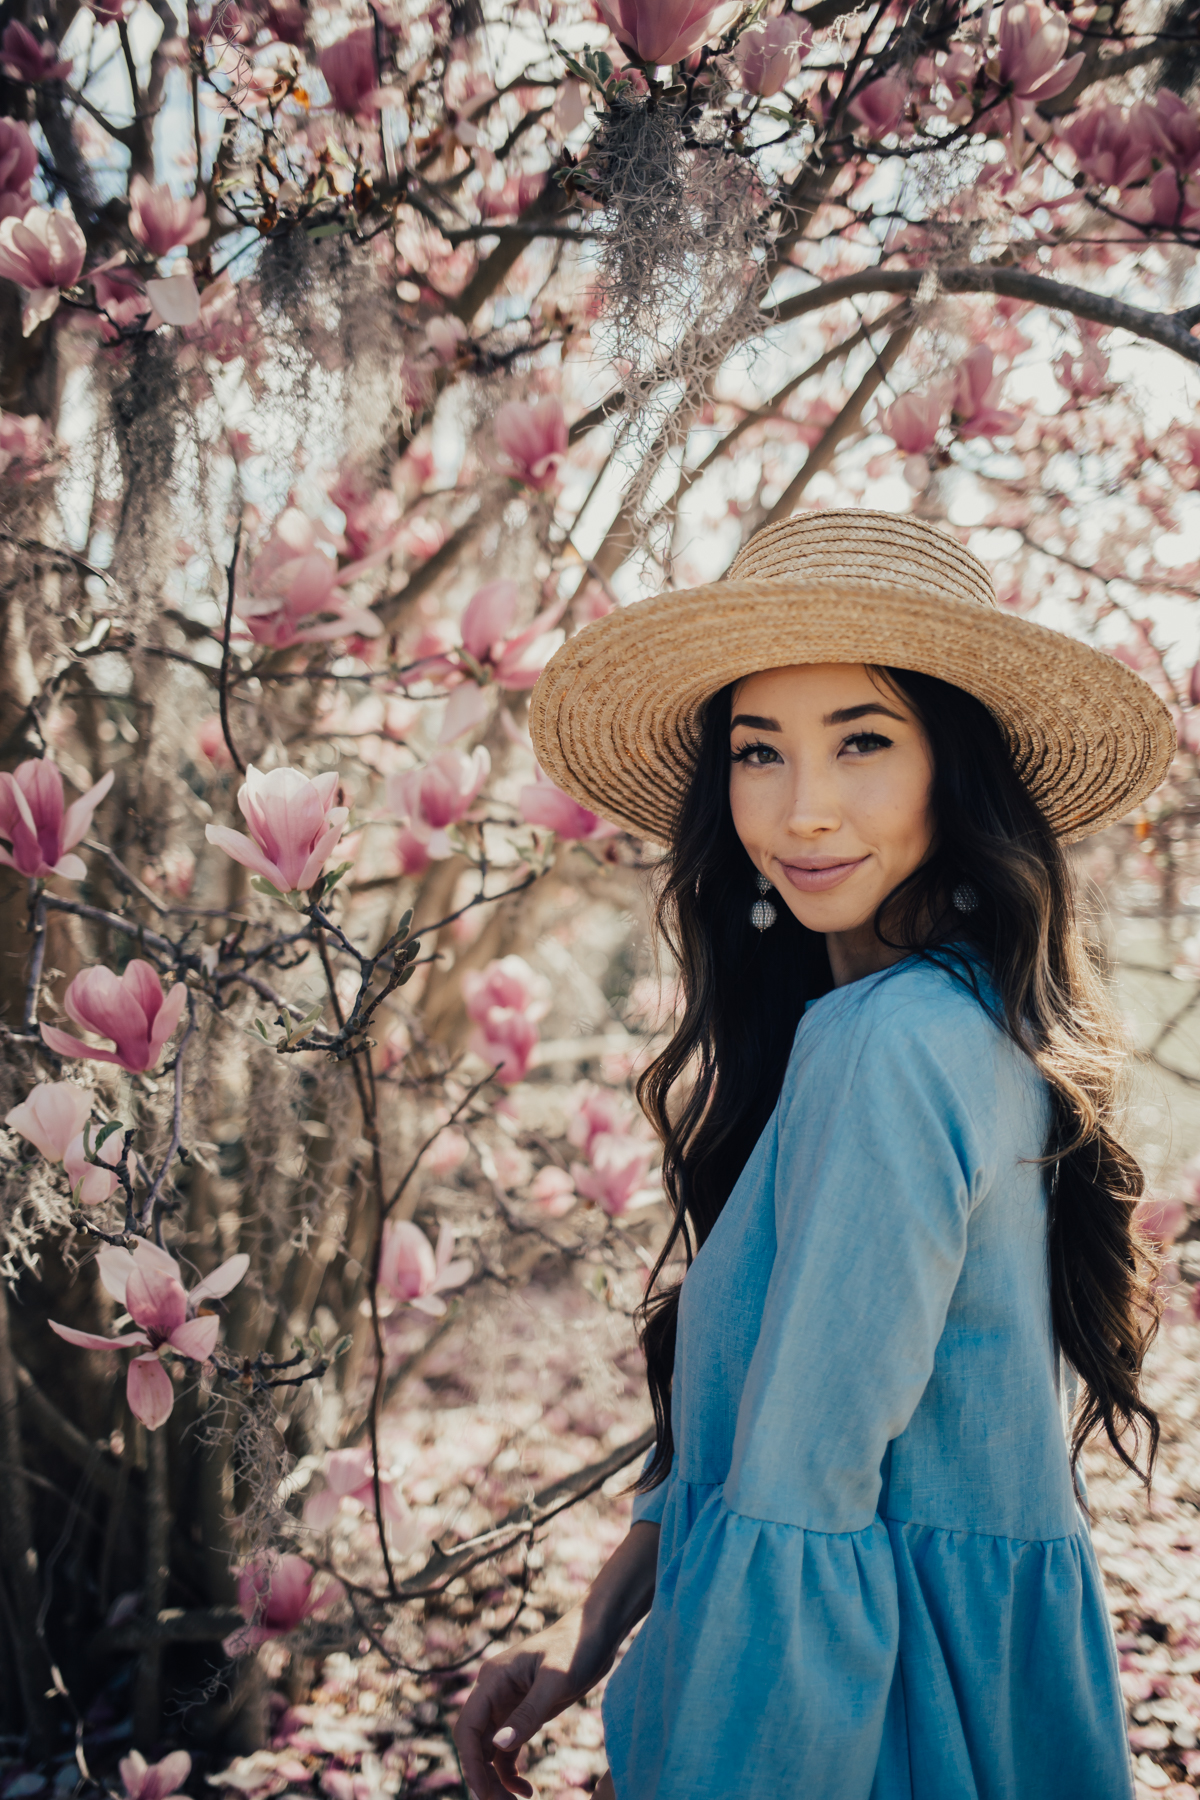
Happy Monday!
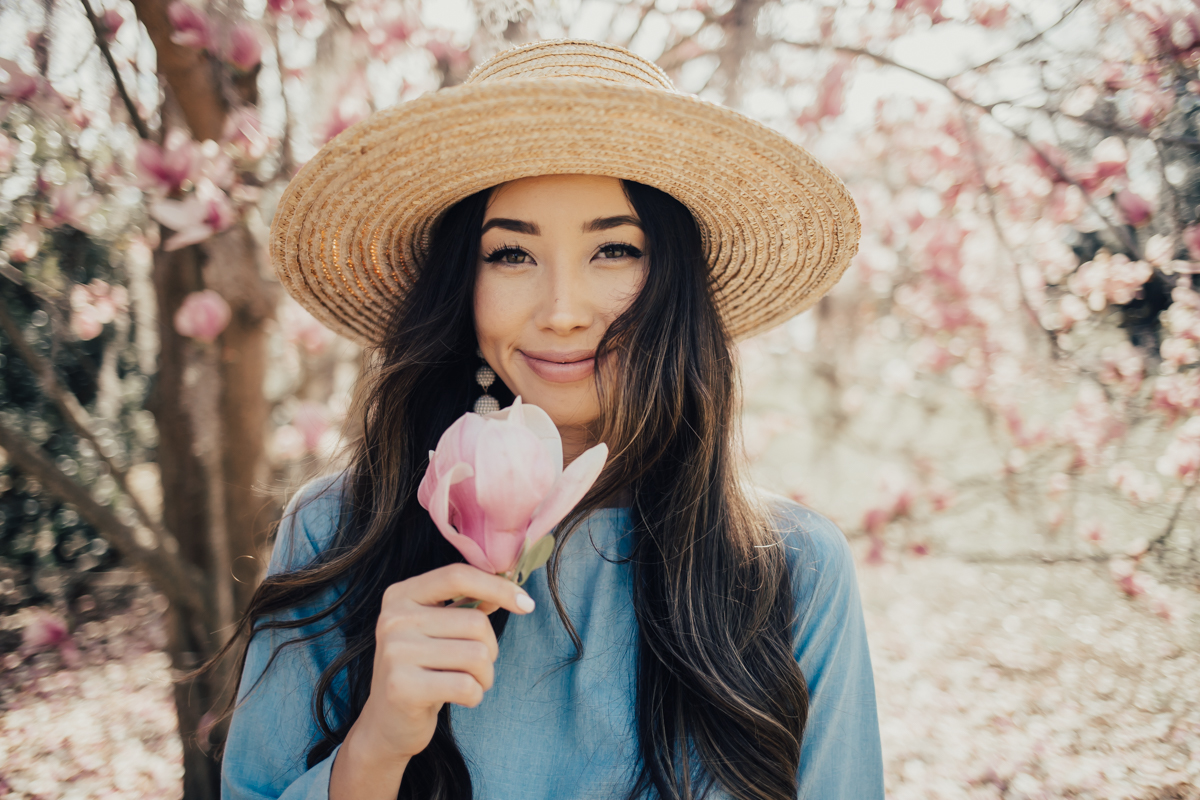
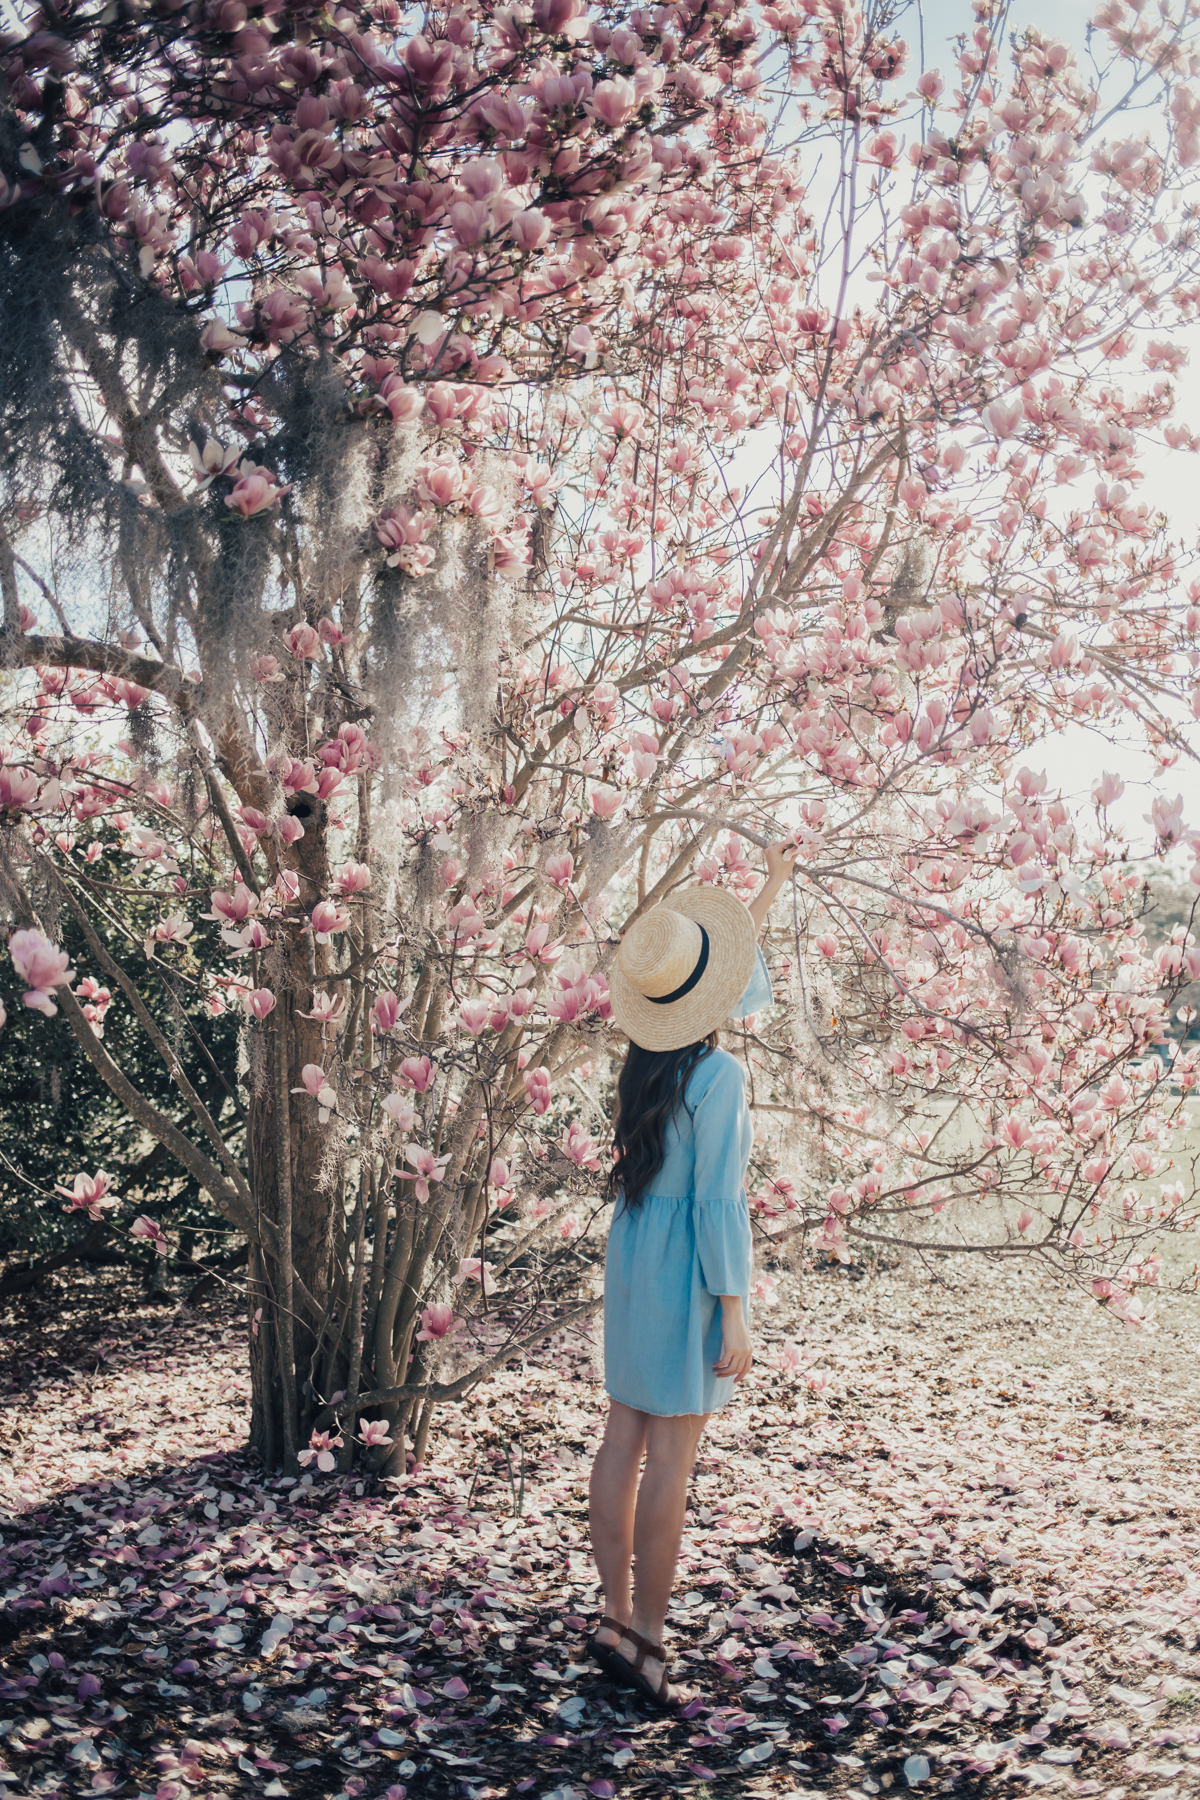
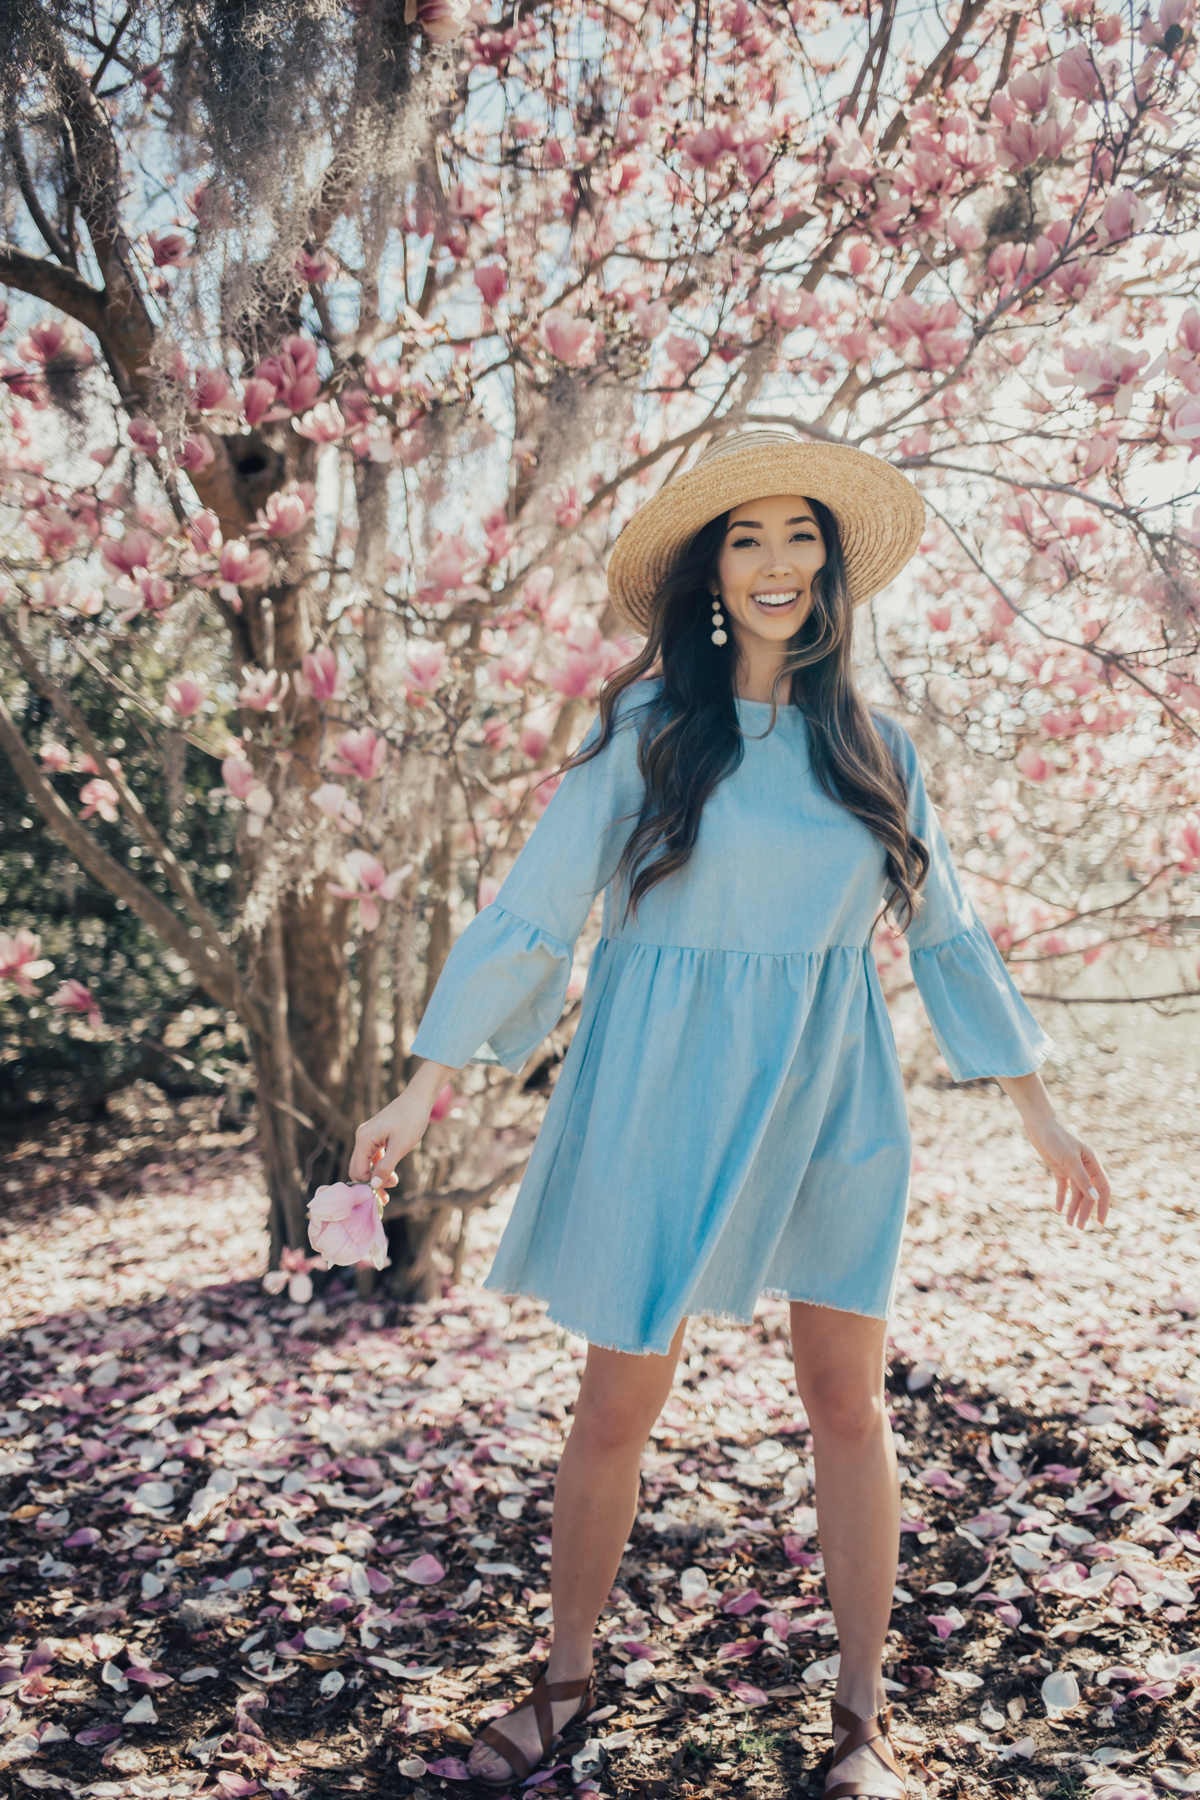
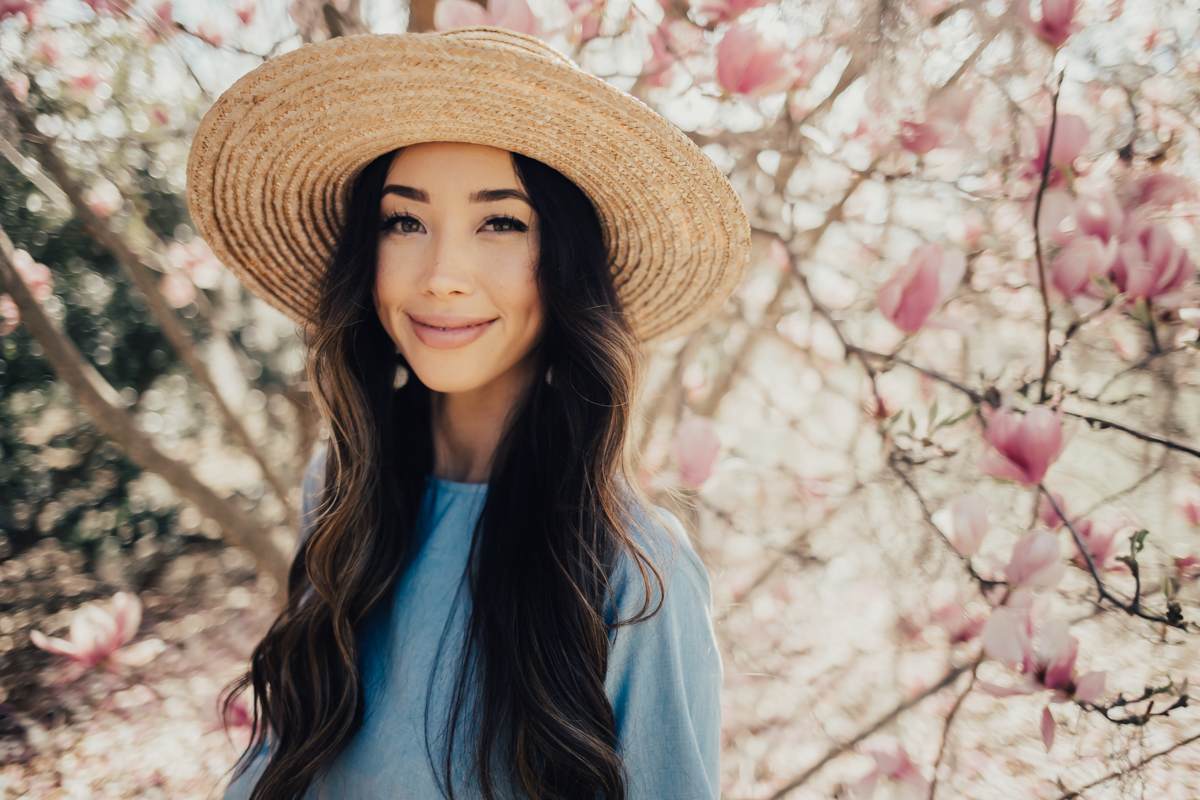
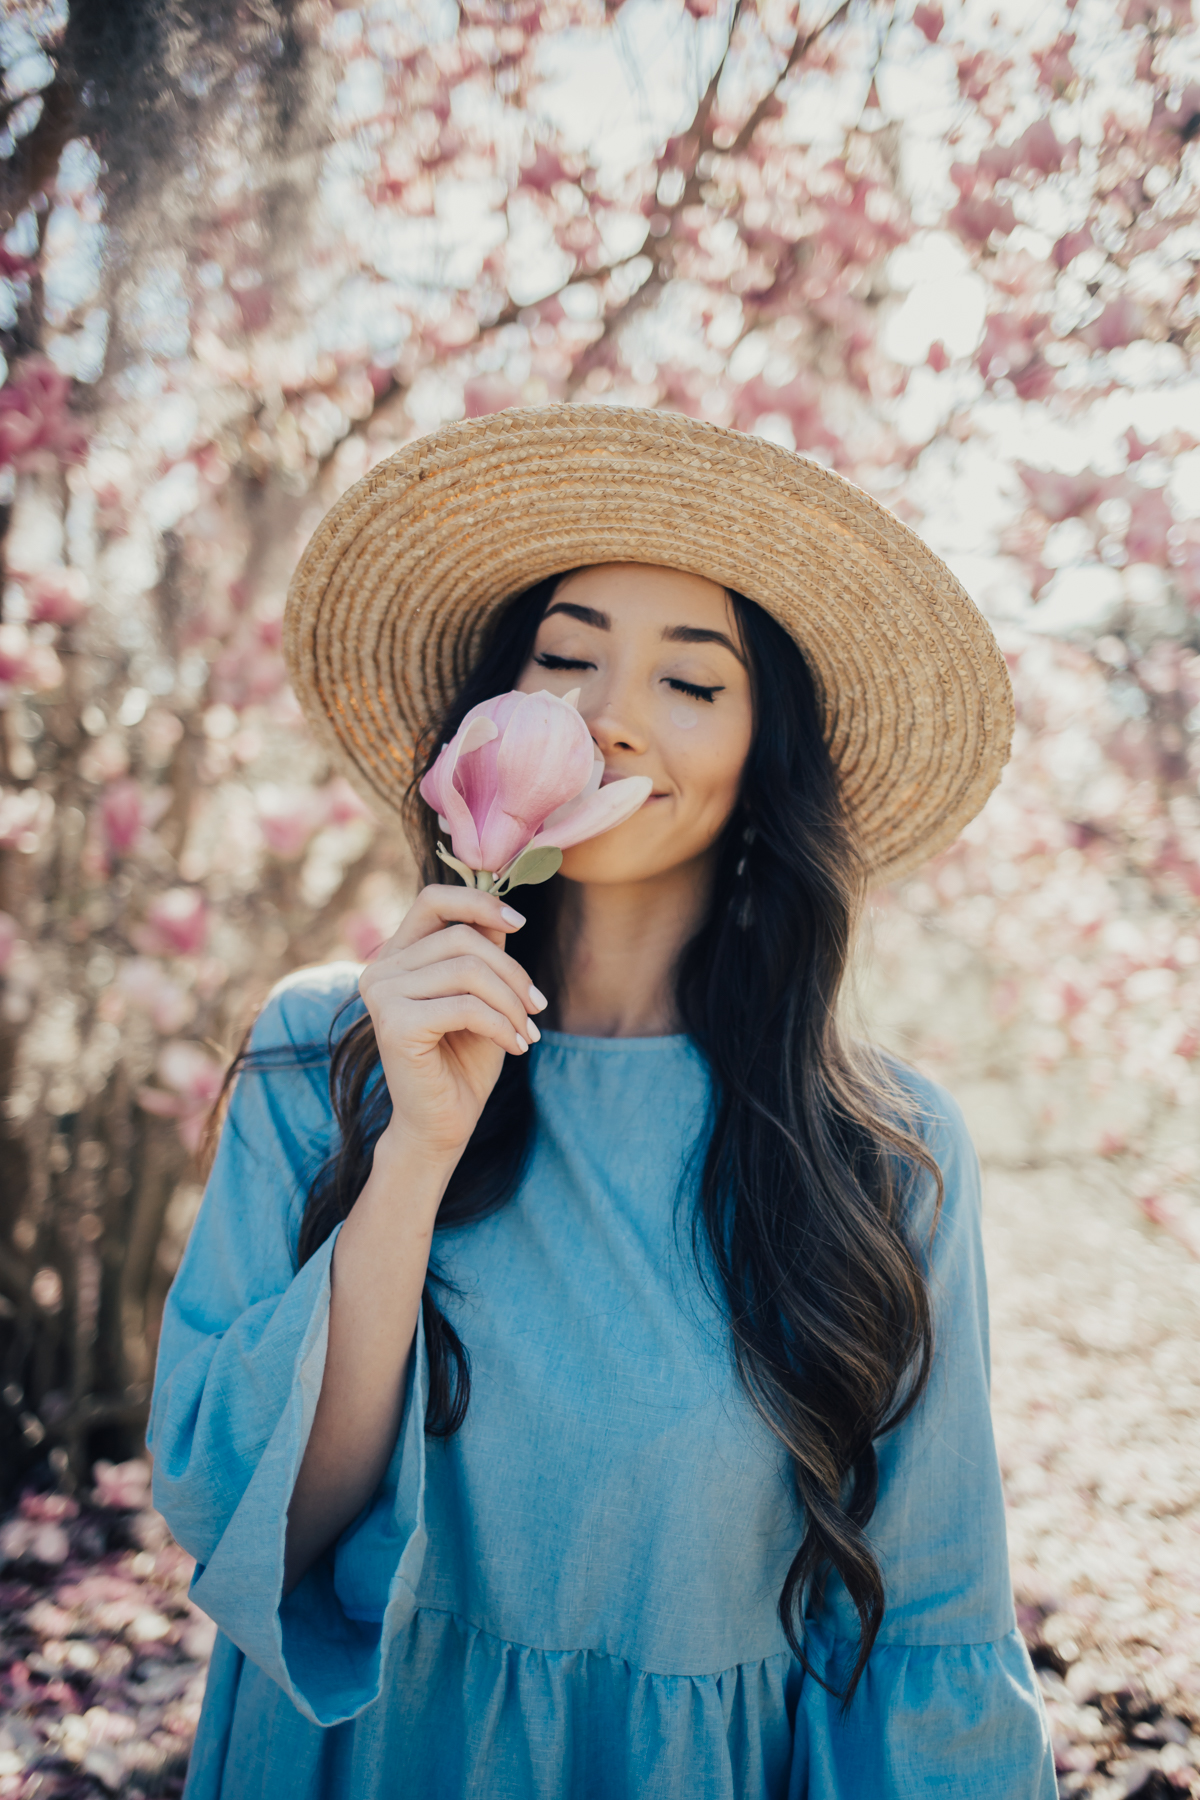
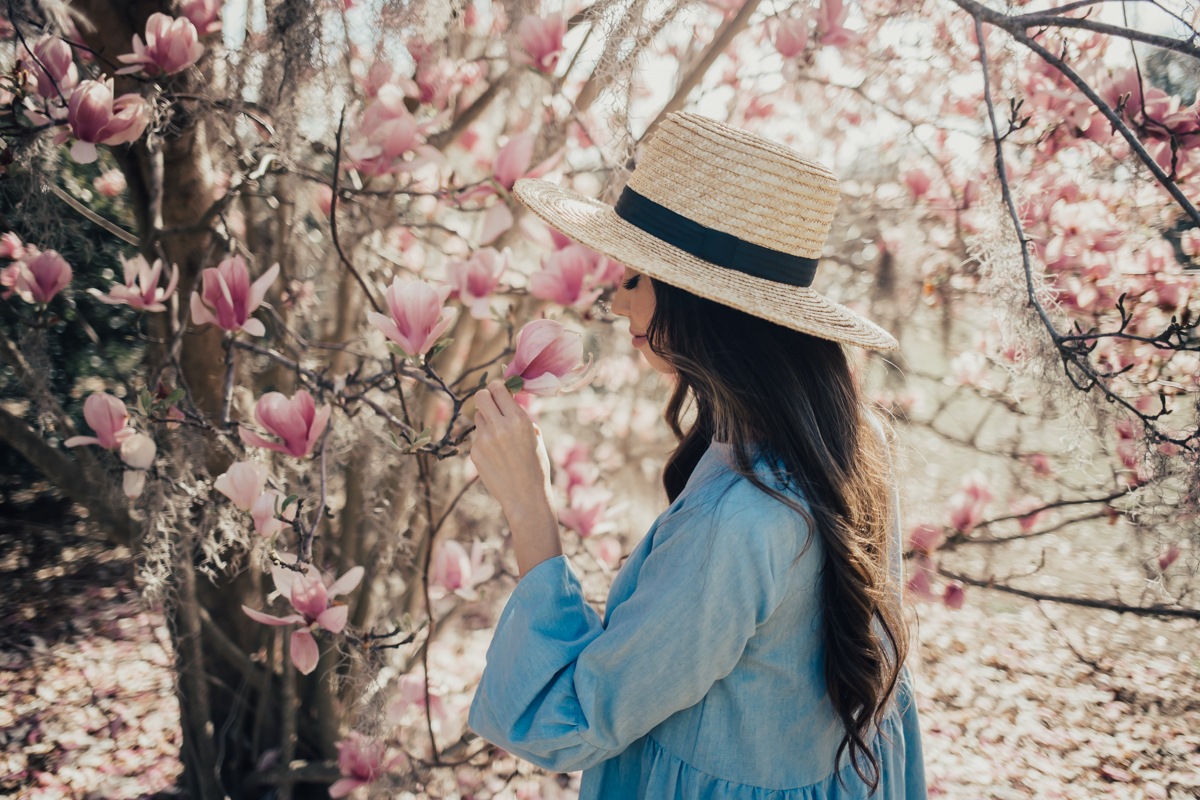
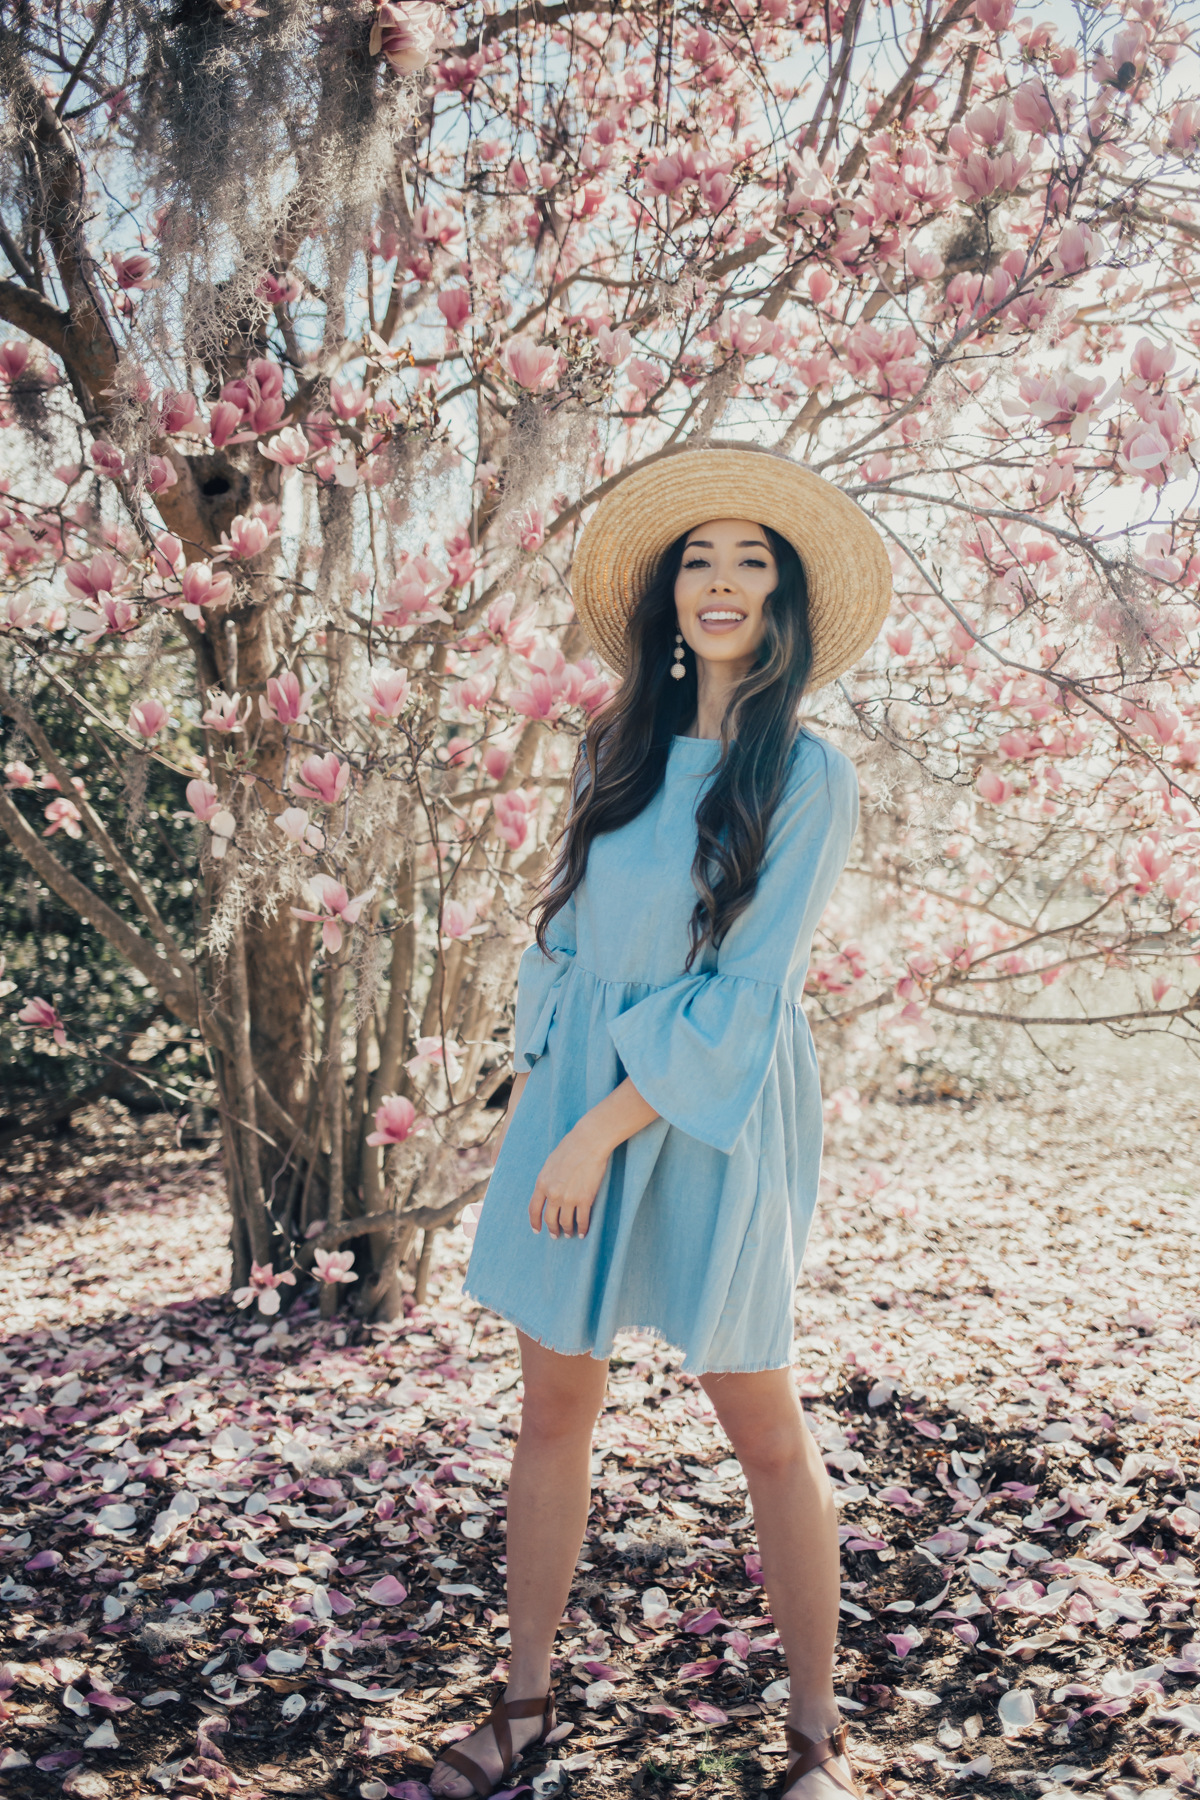
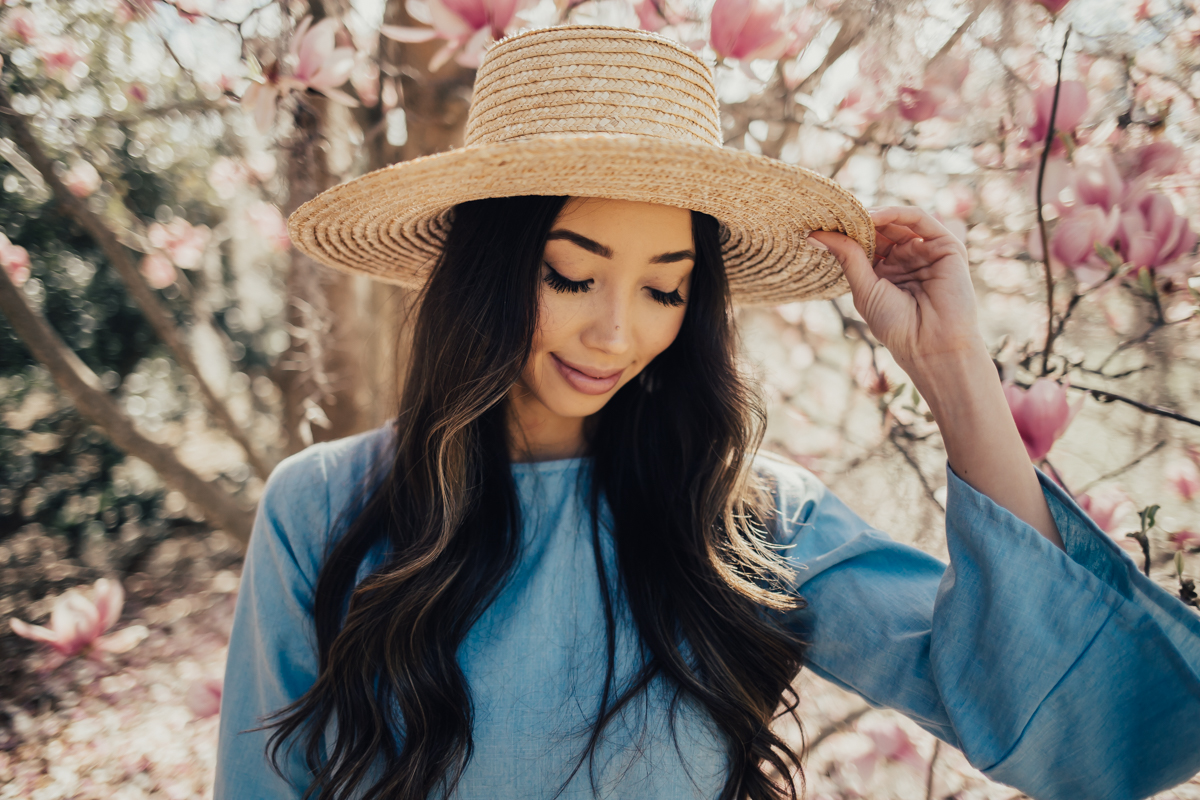
As I share some of my photos from my Charleston trip, I’m really excited for today’s blog post. I’ve been getting a lot of questions regarding my editing on Instagram and what I’ve been doing differently, so I wanted to do a blog post on how I used to edit my photos and what I’ve been doing lately. It’s really no big secret and it’s a simple adjustment, but clearly big enough to make a big difference!
Before I explain, it’s important for everyone to know what Lightroom is and what presets are. I know a lot of people know what these are, but there’s also a lot of people that don’t, so it’s important to explain it so no one is confused. Lightroom is, it’s basically a photo editing software on your laptop. It’s great for organizing your photos, editing your photos, and renaming/resizing photos in large batches. Presets are photo editing adjustments that you save and paste into batches of photos. You can either customize and create your own presets to your liking or you can buy presets from websites. A lot of big Instagrammers or photographers have been selling their custom presets, so you can edit your photos just like them!
Okay, so here we go!
WHAT I USED TO DO:
I’ve always edited my blog photos using Lightroom with a preset that I custom made, but so I can edit Instagram photos on-the-go, I would put unedited photos (DSLR + iPhone photos) in my preferred photo editing app (VSCO) and edit them using the same filter. I thought it was good enough to use the same filter to create consistency, but it didn’t have the power and customization that Lightroom can really do.
WHAT I DO NOW:
It’s time-consuming and takes a bit more effort now, but I edit all of my blog photos AND Instagram photos using Lightroom. It’s definitely difficult for me to edit photos on-the-go, but I now take my laptop everywhere with me, so I can edit all of my photos using my preset wherever/whenever. Once I edit my photos in Lightroom and want to Instagram a photo, I still put the edited photo into my VSCO mobile app and paste filter A6, just so I can create even more of a consistency through my photos.
Photo editing is not just slapping on a filter or slapping on a preset, it really requires adjustments per photo, but having a preset really helps with the consistency.
I don’t quite feel comfortable or “big enough” to sell my presets like other people do, but I recommend finding a preset that you like and customizing it and saving it as your own preset in Lightroom. I know this blog post is pretty general and doesn’t go deep into details on HOW to edit, but I wanted to do a post on what a big difference this minor adjustment has made for me. I promise to do a post on photo editing soon, but if you have any other questions on photo editing, comment below and I would be happy to answer them! If you’re not comfortable with Lightroom, I highly recommend just going in the software and playing around with it!
Thanks for always reading! xx


